 By
By 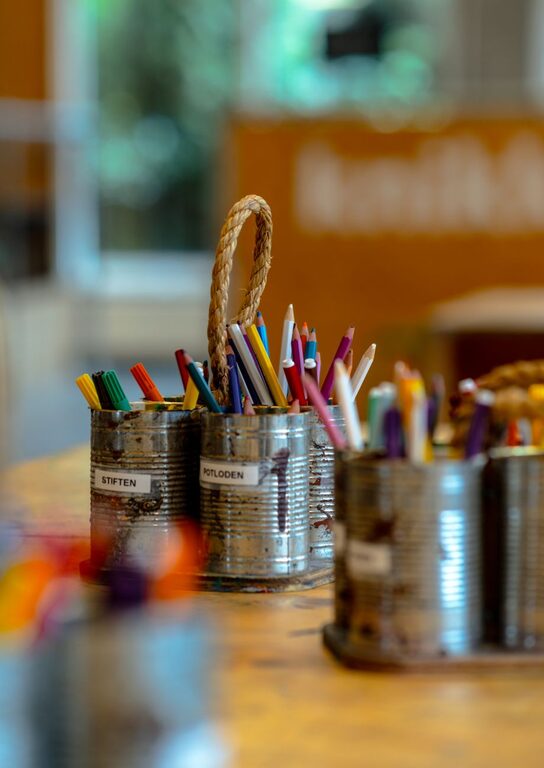
Children’s artwork is full of personality, memories, and proud moments. However, paintings, drawings, collages, and school projects can quickly take over the fridge, kitchen table, and storage cupboards. With a simple system, you can celebrate your child’s creativity while keeping art supplies and finished pieces under control.
The goal is not to save every piece. Instead, create a routine for enjoying, sorting, displaying, and storing artwork. Here are practical tips to help keep kids’ art organized at home.
Create a regular sorting routine
Art is much easier to manage when sorting becomes a regular habit. Set aside a few minutes once a week or every other week to go through new pieces. A consistent routine prevents piles from growing unnoticed.
Try sorting artwork into three basic groups:
– Display
– Save
– Recycle or reuse
Ask your child to help decide where each piece belongs. This teaches decision-making and helps them feel involved in the process.
If sorting every week is not realistic, choose a monthly art day. Keep a basket or folder nearby for new artwork, then sort everything together at the end of the month.
Set up a display area
A dedicated display area gives children a place to show off their work without covering every wall. Choose a spot that is easy to update, such as a hallway, playroom, kitchen, or child’s bedroom.
Some simple display ideas include:
– Clipboards mounted on the wall
– String with wooden pegs
– Magnetic frames
– A corkboard
– A rotating art frame
– A wire grid with clips
– A large magnetic board
Use a display area that allows artwork to be changed easily. When new pieces go up, older ones can move into a storage folder or be considered for recycling.
To make the display feel special, add your child’s name or a small sign such as “Our Art Gallery.” You can also invite your child to choose which pieces are displayed and arrange them in a particular order.
Use a one-in, one-out rule
A simple limit can make art displays easier to manage. For example, when a new piece goes up, another piece comes down. This keeps the display fresh and prevents it from becoming crowded.
The same idea can work for a storage folder or box. Once it is full, review the contents together and choose a few favourites to keep. You do not need to remove everything at once. Small decisions are usually easier than trying to sort years of artwork in one afternoon.
Keep a temporary art basket
Children often bring home artwork when they are tired, excited, or ready to move on to something else. Instead of making an immediate decision, place new pieces in a temporary basket or tray.
This gives you time to:
– Let wet artwork dry
– Gather pieces from different rooms
– Photograph large or delicate projects
– Decide which pieces deserve long-term storage
– Ask your child for input
Choose a container that is large enough for regular use but not so large that it becomes a permanent pile. When it is full, make time to sort it.
Choose storage that protects artwork
For important pieces, use storage that keeps paper clean, flat, and dry. Acid-free folders, portfolio cases, and large envelopes are useful options. Avoid placing artwork in damp basements, hot attics, or areas exposed to direct sunlight.
Organize stored pieces by:
– Child
– School year
– Age
– Type of artwork
– Special occasion
Label each folder or box clearly. Include your child’s name, age, date, and a short description when possible. Years later, these details will help you remember the story behind each piece.
For three-dimensional projects, use a sturdy lidded box. Wrap fragile items in plain paper rather than placing them loose in a crowded container. Keep small pieces together in labelled bags or envelopes.
Take photos of large projects
Some artwork is too large, delicate, or awkward to store. Before recycling it, take a clear photo. You can photograph the artwork by itself or include your child holding it. Adding your child to the photo can help capture the memory and show the scale of the project.
Create a digital folder for these photos. You might organize it by year, school grade, or child. Add simple file names, such as “Ava age 5 rainbow painting,” so the images are easy to find later.
For a special collection, consider making a printed photo book at the end of the school year. A book takes up less space than a box of paper and creates a keepsake that your family can look through together.
Save the story behind the artwork
The artwork itself is only part of the memory. Your child may have a funny explanation, a creative title, or a story about how the piece was made.
Write down a few details on the back of the artwork or in a notebook:
– The child’s name and age
– The date or year
– The title of the piece
– The materials used
– What inspired it
– A quote from your child
You do not need to record every detail. One or two sentences can make a favourite piece much more meaningful in the future.
Reuse artwork in practical ways
Some artwork can have a second life instead of going straight into storage. Turn selected pieces into useful or decorative items, such as:
– Birthday cards
– Gift tags
– Bookmarks
– Wrapping paper
– Thank-you notes
– Collage material
– Decorations for a child’s room
Cutting up artwork may feel difficult at first, so start with pieces that are damaged, unfinished, or no longer meaningful. You can also create a family collage from smaller drawings and scraps.
Reusing artwork helps reduce clutter while showing children that their creativity has value.
Keep art supplies in clear categories
Finished artwork is only one part of the organization challenge. Paint, crayons, paper, glue, and craft materials can also become difficult to manage.
Store supplies in separate, clearly labelled containers. Useful categories include:
– Drawing tools
– Paint supplies
– Paper
– Glue and tape
– Recycled materials
– Scissors
– Stickers and decorations
Clear bins make it easier for children to see what they have. Place frequently used supplies at a child-friendly height, while keeping messy or less suitable materials where an adult can supervise them.
Avoid storing too many supplies at once. A smaller selection often encourages more focused creativity and makes clean-up easier.
Make clean-up part of the project
Teach children that putting materials away is part of making art. Before starting, explain where supplies belong and how the work area should be left.
A simple clean-up checklist might include:
- Put tools back in their containers.
- Throw away scraps and empty packaging.
- Wipe the table.
- Place wet artwork somewhere safe to dry.
- Put finished pieces in the display area or temporary basket.
You can use a short timer or play a clean-up song to make the routine more enjoyable. Younger children may need help, while older children can gradually take responsibility for the full process.
Let children make some of the decisions
It can be tempting for adults to decide what to keep, but children often value different pieces. A simple drawing may be more important to them than a detailed project.
Invite your child to choose a few favourites each season or school term. Ask open questions such as:
– Which piece are you most proud of?
– What was the most fun to make?
– Which artwork tells a story?
– Is there anything you would like to give to someone?
Respect their choices while explaining that your home has limited storage space. This creates a balanced system that protects both their memories and your living space.
Keep the system simple
The best art organization system is one your family can maintain. You do not need expensive equipment or a complicated filing method. A display area, a temporary basket, a few labelled folders, and a digital photo folder may be all you need.
Start with one small area and improve it over time. When artwork has a clear place to go, children can enjoy creating without the finished pieces becoming overwhelming. With regular sorting and a little family involvement, your child’s art can remain a treasured part of your home rather than a source of clutter.