 By
By 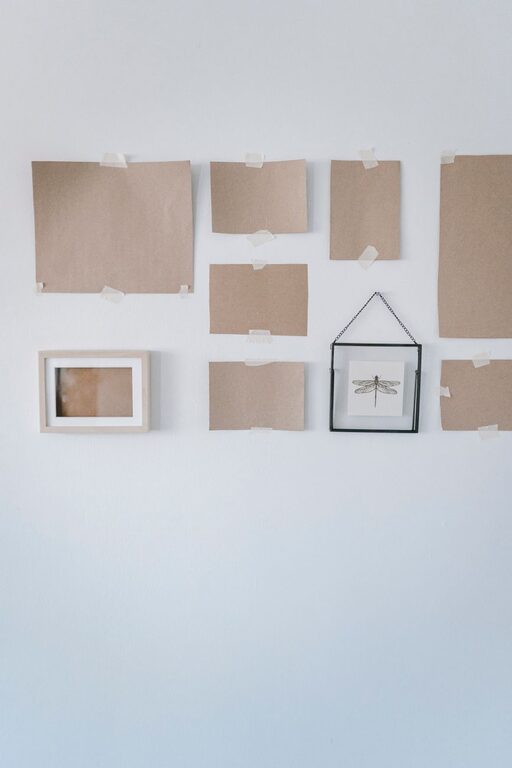
Refreshing your walls does not have to involve expensive artwork or a major renovation. With a few basic supplies and a little creativity, you can make attractive wall decor that suits your home and personal style. These easy DIY ideas are simple enough for beginners and flexible enough to adapt to bedrooms, living rooms, entryways, home offices, and more.
Before you begin, consider the size of your wall, the colours already in the room, and the amount of time you want to spend on the project. Some ideas can be completed in an afternoon, while others are better suited to a relaxed weekend project.
1. Create a Gallery Wall
A gallery wall is an easy way to display a collection of art, photographs, prints, or meaningful objects. It can be carefully planned or arranged in a more relaxed, collected style.
What you need
- Frames in different sizes
- Family photographs, artwork, postcards, or printed designs
- A measuring tape and pencil
- Wall hooks or removable hanging strips
Start by arranging your frames on the floor. Try several layouts until you find one that feels balanced. Keep similar spacing between pieces, usually about 5 to 8 centimetres. For a tidy look, use frames in the same colour. For a more casual display, mix wood, metal, and painted frames.
To make the arrangement look cohesive, repeat one or two colours throughout the artwork. You can also leave space for future additions, making it easy to add new photographs or prints over time.
2. Make a Simple Fabric Wall Hanging
Fabric wall hangings add softness and texture without requiring advanced sewing skills. A patterned tea towel, vintage scarf, piece of linen, or fabric remnant can become an attractive decorative feature.
Cut the fabric to the size you want, then attach it to a wooden dowel using fabric glue, small clips, or a simple stitched pocket. Tie string or cord to both ends of the dowel for hanging. If you prefer a more finished appearance, fold and press the edges before attaching the fabric.
This project works especially well above a bed, reading chair, console table, or desk. Choose a fabric with colours that complement nearby cushions, rugs, or curtains.
3. Display a Collection of Baskets
Decorative baskets can bring warmth and natural texture to a plain wall. They are also a good way to display items you may already own, such as woven baskets, shallow trays, or lightweight handmade pieces.
Arrange the baskets on the floor first. Try grouping them in a circular shape, a vertical column, or an uneven cluster. Use sturdy hooks suitable for the weight of each basket, and check that the wall surface can support the display.
For a calm and coordinated look, choose baskets in similar natural tones. If you want more colour, add painted baskets or pieces with bright patterns. Keep the display away from areas where baskets could be bumped or caught on clothing.
4. Paint an Oversized Abstract Canvas
You do not need to be an experienced artist to create abstract wall art. An oversized canvas with simple shapes can make a strong statement while keeping the process relaxed and flexible.
How to get started
- Choose two to four paint colours that work with your room.
- Apply a base colour to the canvas and allow it to dry.
- Add broad brushstrokes, blocks, arches, dots, or simple lines.
- Step back regularly to check the balance of the design.
- Allow the canvas to dry completely before hanging it.
For a modern look, use a limited palette and leave some areas of the canvas blank. You can also use painter’s tape to create clean geometric shapes. Acrylic paint is a practical choice because it dries quickly and is easy to clean up with water while wet.
5. Turn Children’s Artwork into Wall Decor
Children’s drawings and paintings can become colourful, personal decorations rather than being stored away in a drawer. Create a rotating display with clipboards, wooden rails, or a length of cord and small pegs.
Clip the artwork to the display so it can be changed easily. This is useful in playrooms, bedrooms, kitchens, or family workspaces. For a more finished look, choose artwork in a similar colour range or create a theme, such as animals, nature, or favourite places.
A rotating display also helps prevent the wall from becoming overcrowded. Keep only a few pieces on show at once and store the rest in a labelled folder or box.
6. Make a Photo Clothesline
A photo clothesline is an inexpensive way to display memories without covering the wall in permanent frames. It can be made with string, cord, ribbon, or thin wire.
Attach the line to two wall hooks, then use small clips to hang photographs, postcards, notes, or seasonal decorations. You can create one long line or several shorter rows. Leave enough space between rows so the display remains easy to view.
For a polished appearance, print photographs in the same size or use a consistent black-and-white style. To add warmth, choose wooden pegs and natural cord. In a child’s room, colourful clips can make the display more playful.
7. Add a Painted Wall Shape
A painted arch, half-circle, or large colour block can create the look of artwork while using only paint and a few simple tools. This idea is especially helpful when you want to highlight a desk, bench, bed, or small shelf.
Mark the area with a pencil and use painter’s tape to define straight edges. For a curved top, tie a piece of string to a pencil, hold the other end at the centre point, and use it as a guide to draw a smooth curve. Paint inside the outline, then carefully remove the tape while the paint is still slightly wet.
Soft greens, warm neutrals, muted blues, and earthy terracotta shades can create a calm effect. If you want something bolder, choose a bright colour that repeats elsewhere in the room.
8. Build a Simple Picture Ledge
A picture ledge lets you lean artwork against the wall instead of hanging every piece individually. It is practical, easy to update, and ideal for renters or anyone who enjoys changing their decor.
You can buy a ready-made shelf or make one from a narrow wooden board, a small front rail, and suitable brackets. Sand the wood before painting or staining it. Once installed, layer framed prints, small mirrors, photographs, and lightweight objects along the ledge.
Place larger pieces at the back and smaller ones in front. Leave a little open space so the arrangement does not look crowded. Avoid placing heavy or fragile objects where they could fall easily.
Tips for a Successful DIY Wall Decor Project
- Measure the wall before buying supplies or making artwork.
- Test paint colours on a small area before committing to a large design.
- Use removable hanging strips when appropriate, especially in rental homes.
- Keep heavy items on wall studs or use anchors designed for the wall type.
- Lay out your design on the floor before attaching anything.
- Repeat colours, materials, or shapes to make different pieces feel connected.
- Choose decor that reflects your interests, memories, and everyday style.
DIY wall decor is most successful when it feels personal and suits the way you use the room. Start with one small project, experiment with colour and texture, and build your display gradually. Even a simple painted shape, fabric panel, or collection of photographs can make a plain wall feel welcoming and complete.